Installing and configuring XAMPP
In this lesson, we will look at setting up the environment required for PHP development using the XAMPP package - this is an application that allows you to quickly deploy a bundle from PHP, Apache, MariaDB for local development (analogous to MySQL). This program is cross-platform and can be used on computers running Windows, Linux and MacOS.
First of all, download and install XAMPP from the official website.
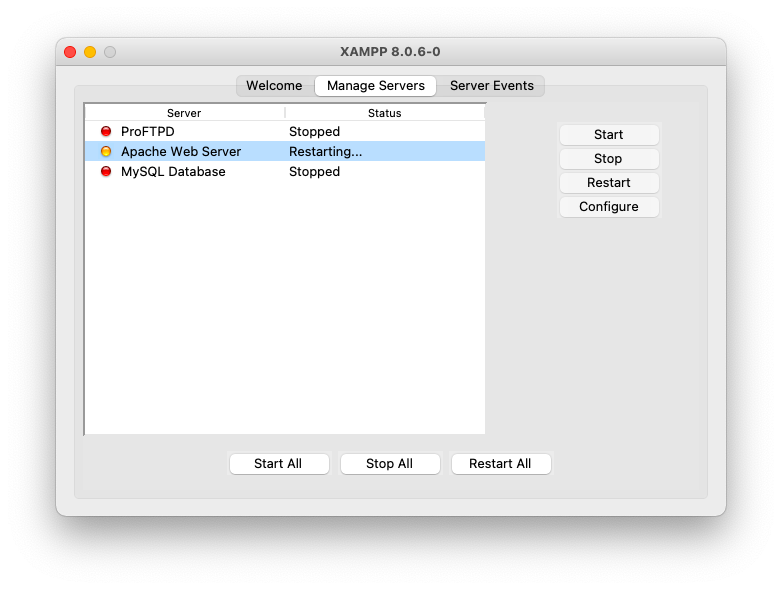
After installation, launch XAMPP and go to the “Manage Servers” tab. Select “Apache Web Server” from the list and click the “Start” button. Opposite the selected value, in the “Status” column will be written “Running” - the Apache server in conjunction with PHP has been successfully launched on your local computer.
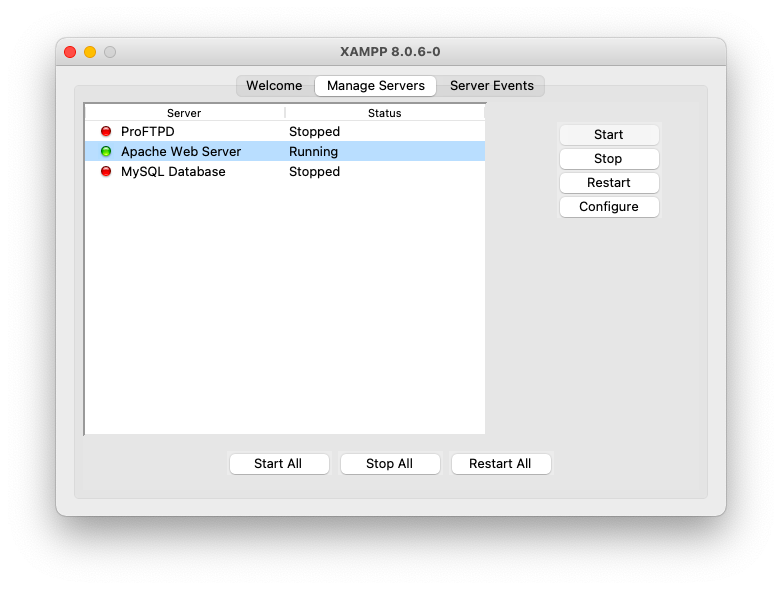
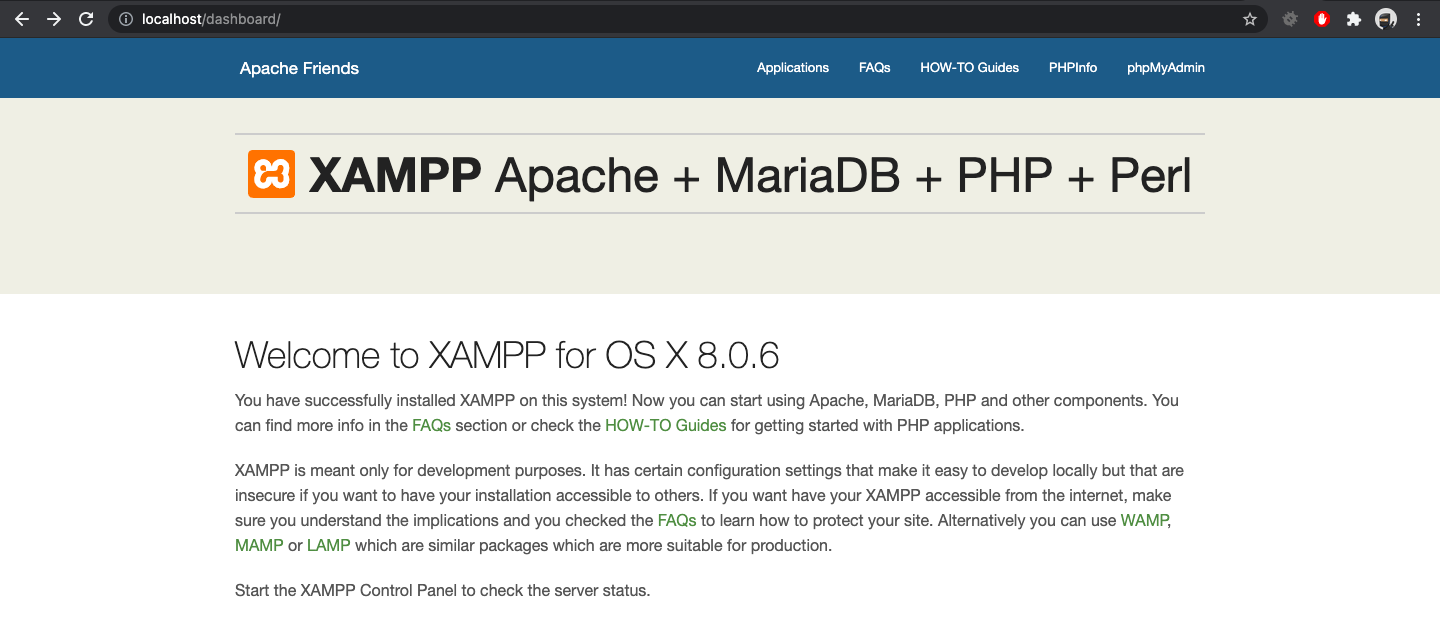
To test its work, open your browser and enter the address http://localhost/ in the address bar and press Enter. You will see the XAMPP welcome window.
Configuring virtual hosts
Now we need to set up a virtual host for our first project - this is such a thing, thanks to which you can type in the address of a site, for example, blabla.com, in the browser, and the local web server will process the request for this address. An unlimited number of such virtual hosts can be made with XAMPP.
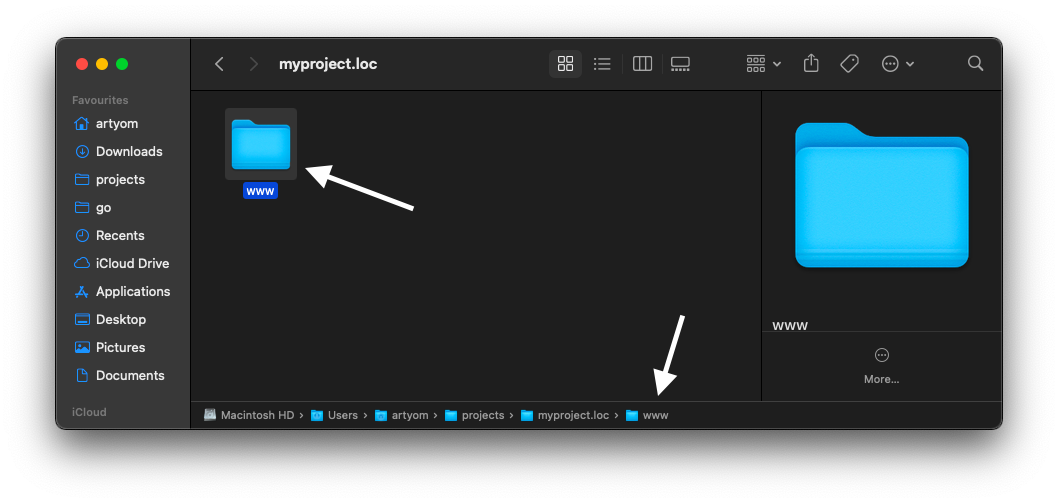
For our tutorial project, we will create a virtual host for the myproject.loc domain. First of all, let's create a directory where our project will be located.
I created it along the path /Users/artyom/projects/myproject.loc
In case of Windows, the path will start with the letter of the drive where the project is located, for example: D:\projects\myproject.loc
Inside this directory, you need to create a www folder - this will be the root directory of our site for the web server. It is in the www folder that the web server will look for the files we are requesting.
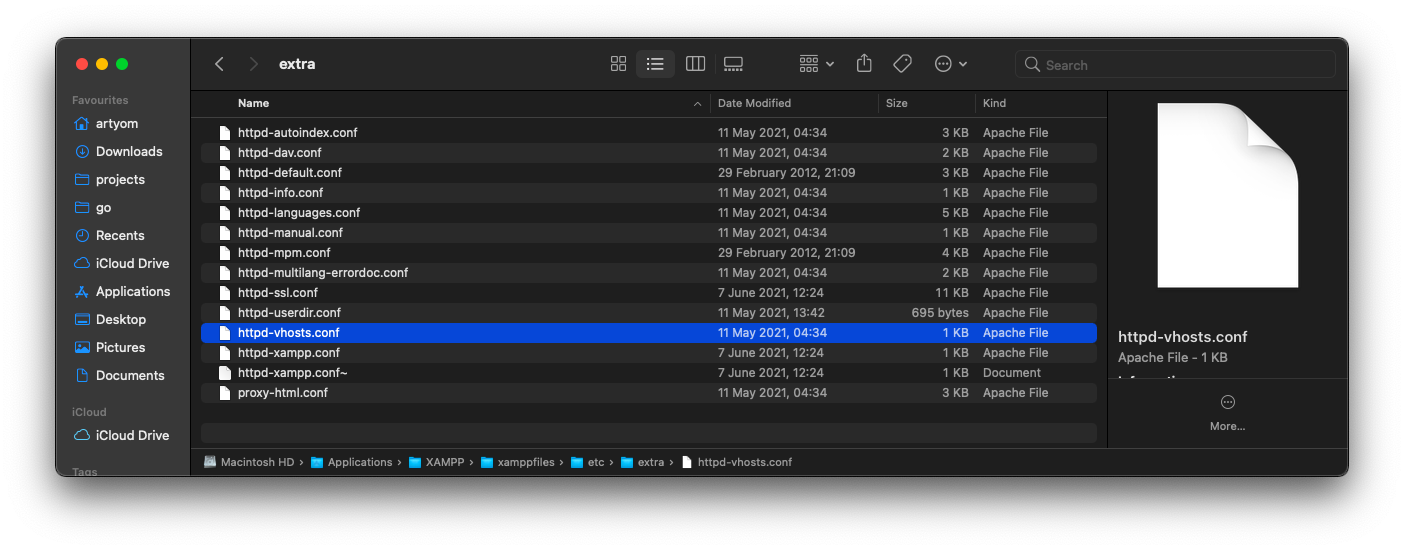
Now you need to open the folder with XAMPP installed (I have it on the path /Applications/XAMPP), find the etc folder in it, inside it there will be an extra folder, and in it there will be a httpd-vhosts.conf file.
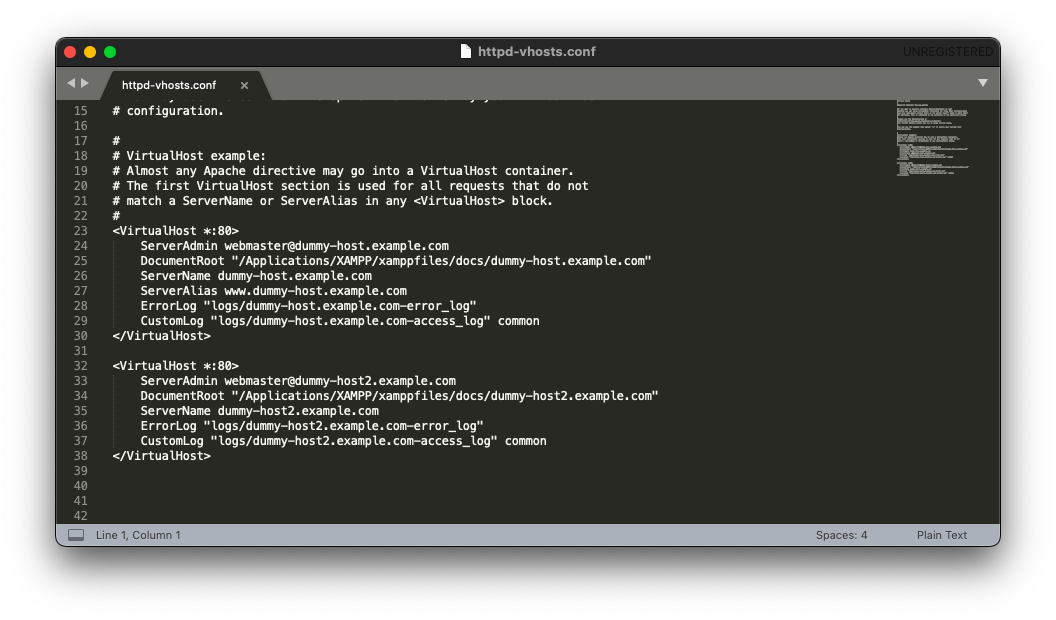
Open it in any text editor. In it you will see examples of several virtual host configurations. In my case, these are the hosts dummy-host.example.com and dummy-host2.example.com
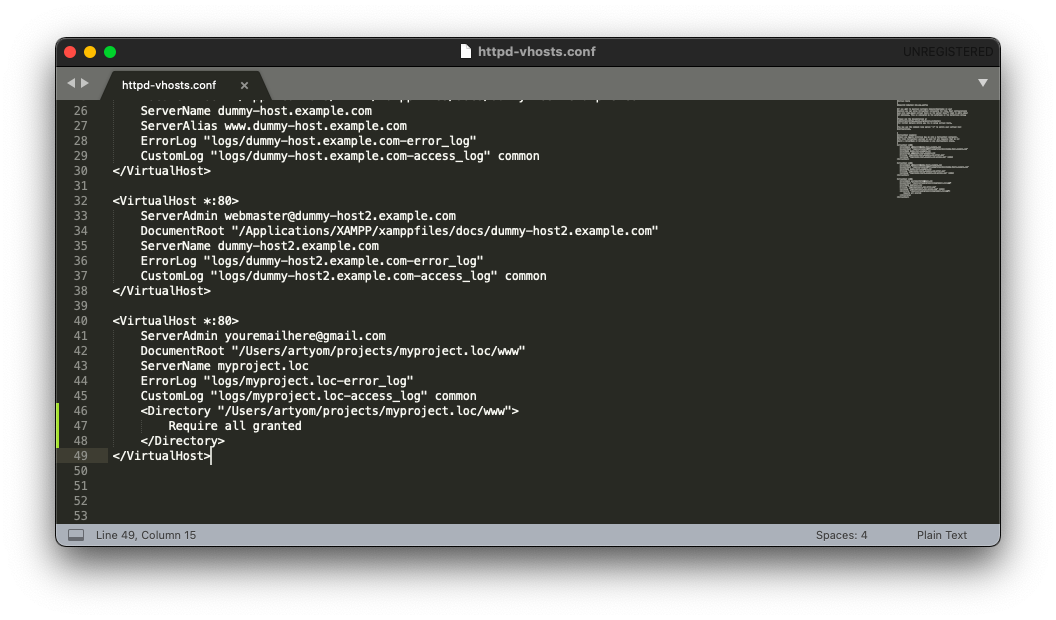
Let's add our host myproject.loc to them
<VirtualHost *:80>
    ServerAdmin [email protected]
    DocumentRoot "/Users/artyom/projects/myproject.loc/www"
    ServerName myproject.loc
    ErrorLog "logs/myproject.loc-error_log"
    CustomLog "logs/myproject.loc-access_log" common
    <Directory "/Users/artyom/projects/myproject.loc/www">
        Require all granted
    </Directory>
</VirtualHost>
Now about the configuration:
VirtualHost is the root section of the virtual host. *: 80 means that this host will be available at any IP address and listen to port 80. Host settings are located inside this section.
ServerAdmin - here you can enter your contact email.
DocumentRoot - here we specify the path to the www folder that we created earlier.
ServerName - here we specify the domain name for our host, this is the domain by which the site will open in the browser.
ErrorLog - path for the file with error logs. It will contain errors that sometimes occur even on the most reliable sites.
CustomLog - path for the file with access logs. All user requests will simply be recorded here.
Directory - settings for a specific directory. In our case, we are setting up our virtual host root directory. Require all granted means that requests from any addresses are allowed.
Save the file.
Now you need to make the Apache web server apply these settings, described in the httpd-vhosts.conf file
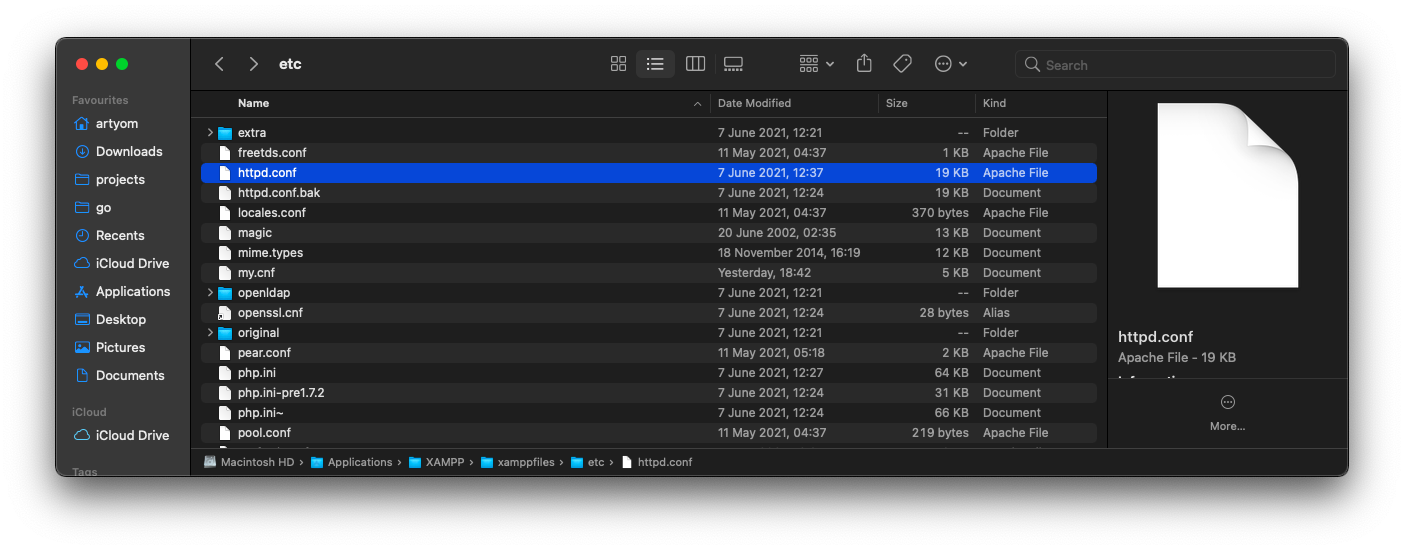
To do this, you need to reopen the folder with the installed XAMPP program, find the etc folder in it, and find the httpd.conf file in it.
Open it in any text editor, and look for the line:
Include etc/extra/httpd-vhosts.conf
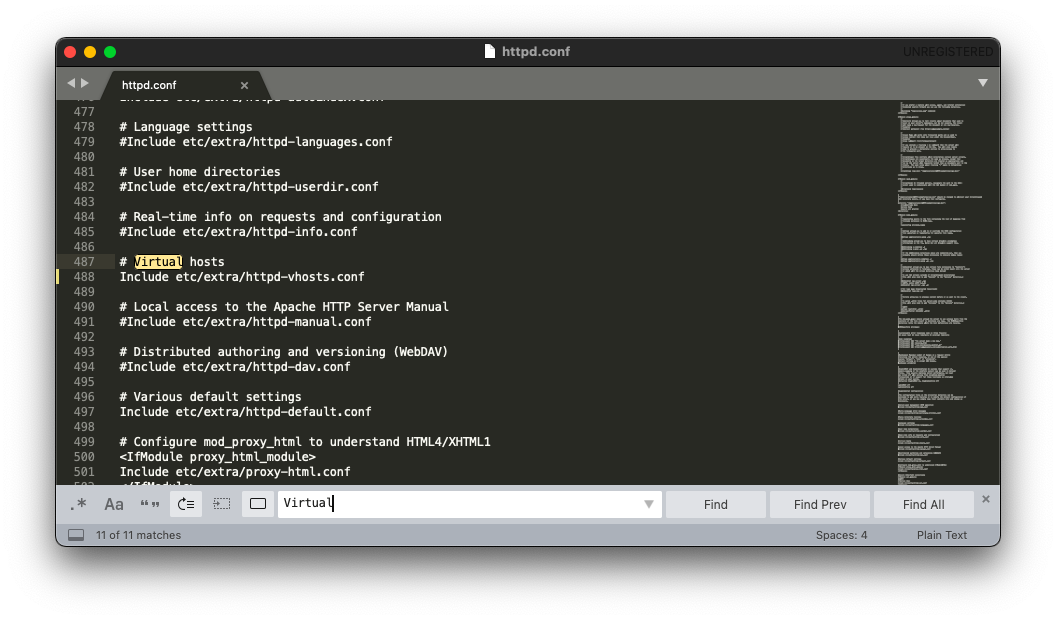
It needs to be uncommented (remove the # symbol at the beginning of the line).
After making changes, the file must be saved.
After making the changes, the Apache web server needs to re-read the configuration and work with the new settings. To do this, you need to restart it. Open the XAMPP control panel, select “Apache Web Server” from the list and press the “Restart” button.
Configuring /etc/hosts
Now you need to make changes to one more file - /etc/hosts
In this file, you can explicitly specify the binding of the domain name to the IP address. In our case, we need to bind the myproject.loc domain to the local IP address 127.0.0.1. After that, when the operating system calls myproject.loc, it will redirect requests to the local address, where our web server will wait for them.
Setting up /etc/hosts on macOS and Linux
On MacOS and Linux systems, this file is located exactly along this path - /etc/hosts
To edit it on MacOS and Linux, open a terminal and run the command:
sudo nano /etc/hosts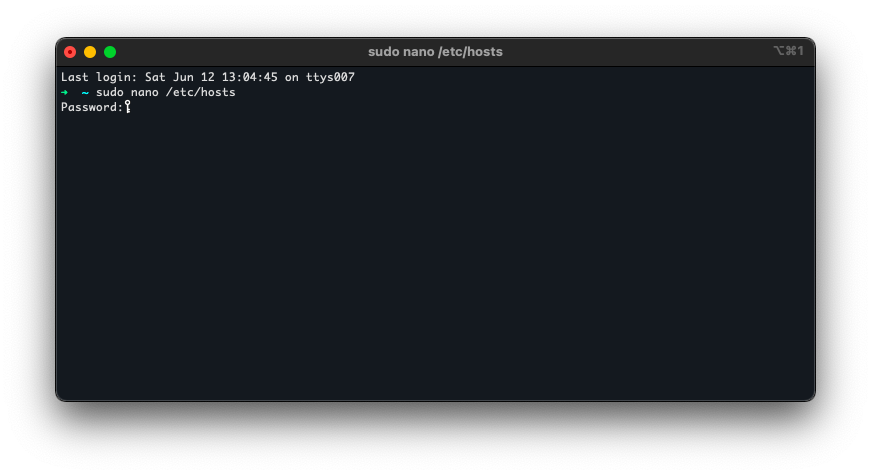
After entering the user's password, the nano console text editor will open.
Move the cursor to the end of the file and add the line:
127.0.0.1 myproject.loc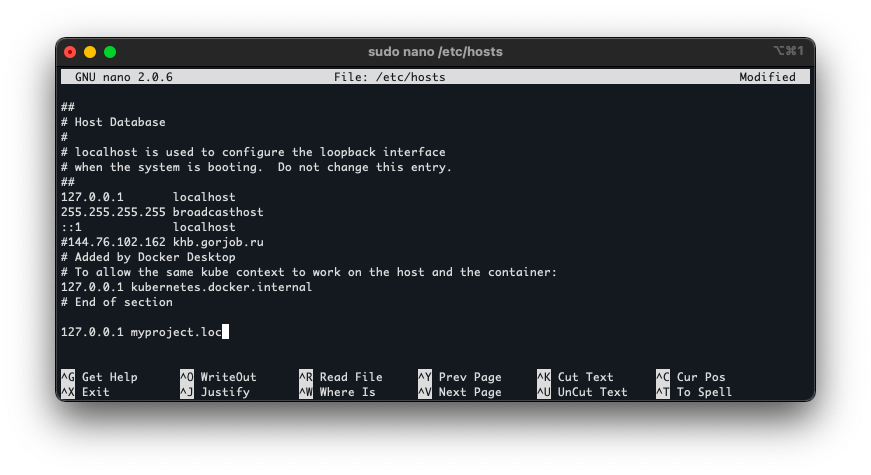
After making changes, you need to press the key combination Ctrl + X, then press Y, and then press Enter.
Configuring /etc/hosts on Windows
In Windows, you need to click on the button with the Windows logo, type “Notepad” in the search box, right-click on the program icon and select “Run as administrator”. In the program, click File -> Open and select the file located along the path C:\Windows\System32\Drivers\etc\hosts
Add the line to the end of the file:
127.0.0.1 myproject.locThen click File -> Save.
Virtual host check
After making changes in the previously created www folder create the index.php file in any text editor. Enter the following code in it:
<?php
echo 'Hello world!';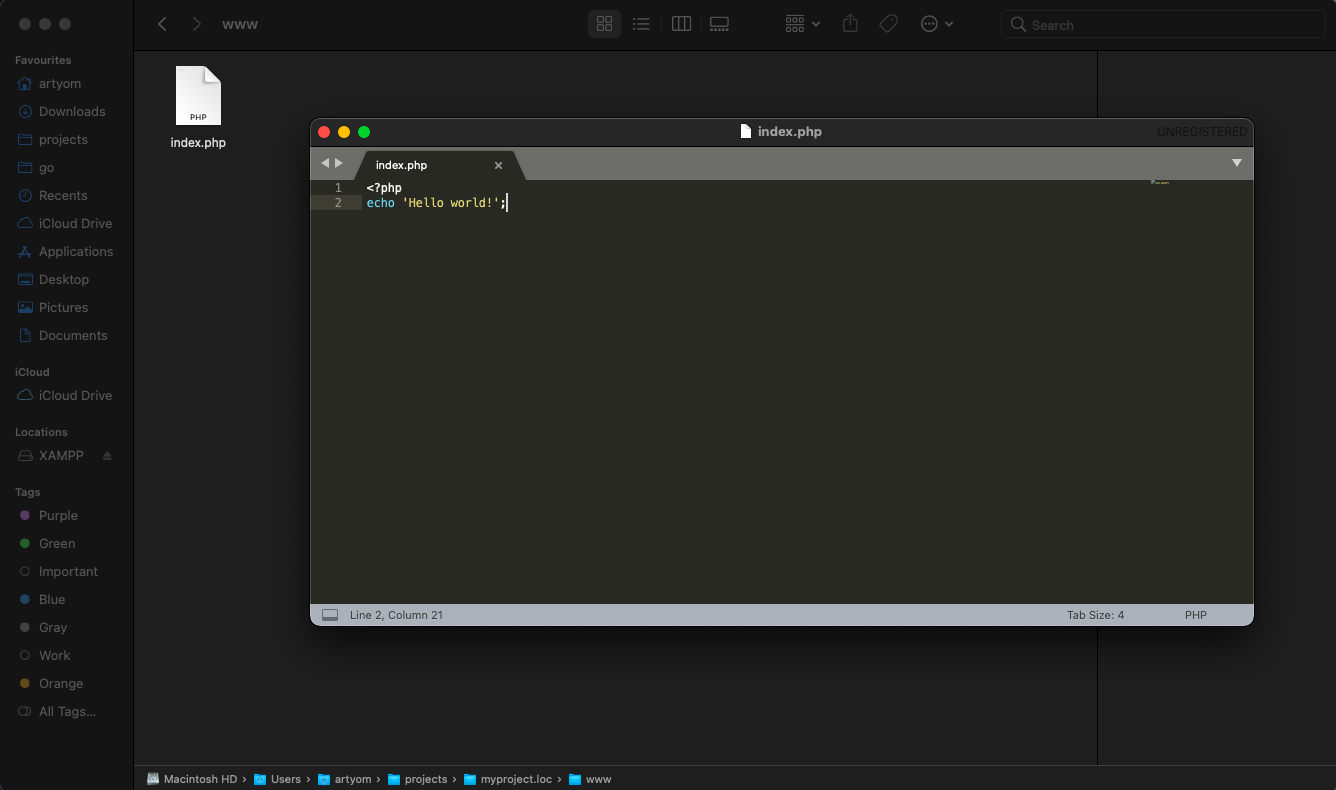
Now you can open your browser and enter the address http://myproject.loc/
If you did everything correctly, you will see the result of executing the PHP code:

Congratulations! Your first (or not?) program just ran successfully! We saw the result of her work. And if we now open the source of the page in a browser, then our source code will not be there. It was executed, and the web server gave us the finished result - exactly as I described in the lesson how PHP works.
Enable error display
At the end of the lesson, let's turn on the display of errors so that when developing our project, we can see what exactly is going wrong.
To do this, in the XAMPP directory, go to the etc directory and find the php.ini file.
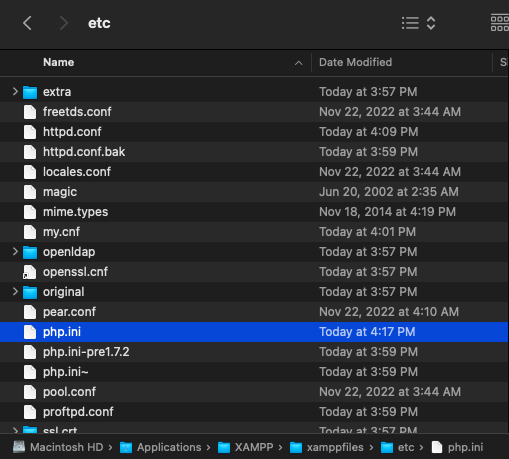
Find a line starting with "display_errors=" and set the value of this parameter to "On" and save the file.

Then restart Apache again.
Now let's break our program to make sure the errors are actually displayed. To do this, let's remove the semicolon after the "Hello world!" line:
index.php
<?php
echo 'Hello world!'
Now let's refresh the page in the browser and make sure that an error has appeared:

Put the semicolon back at the end of the line and make sure the program worked correctly again.
This completes the configuration. In the next tutorial, we will install and configure the coolest IDE for PHP developers - PHPStorm.

Comments